Shuttle Mod
My main computer, a first generation shuttle bare-bones is (was) way too noisy. There are two noise related problems with the design of the shuttle. First the main fan which cools the CPU and chassis with a heat pipe contraption only has two speed levels which it happens to switch back and forth between rapidly, no high and low thresholds are used. Most annoying! Second, the original PSU is very noisy, this varies between shuttles, my was loud! Then there is a problem with fitting a graphics card with a fan because the AGP slot is right next to the chassis wall which cause the fan to accelerate, and wear out I'm sure.
My brother should get credit for this mod, it's his invention. I just made another one just like it and documented it in the process
This is not the best step by step tutorial, the action starts after the shuttle has been taken apart.
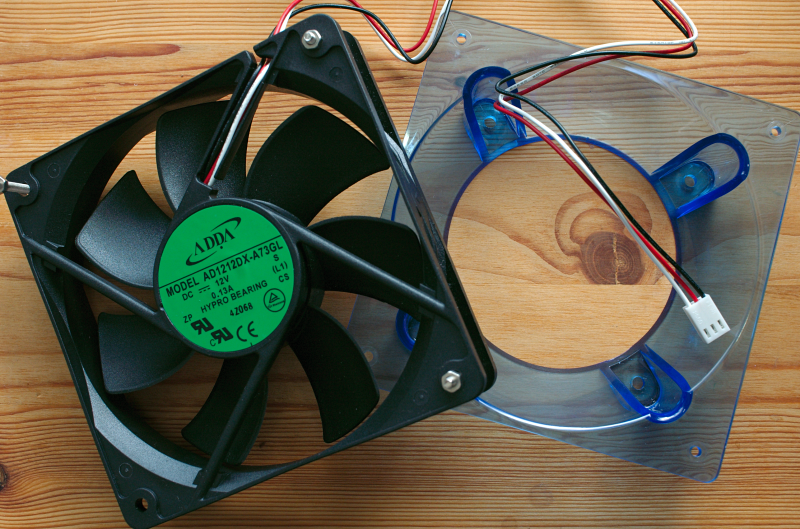
The main fan which is a 80mm fan will be replaced by a slow spinning 120mm fan mounted on a 120mm to 80mm fan converter. The 120mm fan will provide more cooling than the original faster spinning 80mm fan.

You might want to pick up some screws at the hardware store. Depending on how far you want to go with this mod. Four 3mm screws comes with the adapter to attach the fan to it. You will need an additional of four 4mm screws to attach the adapter to the chassis and later for the graphics card fan mod you will need four 3mm screws.
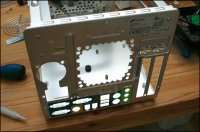
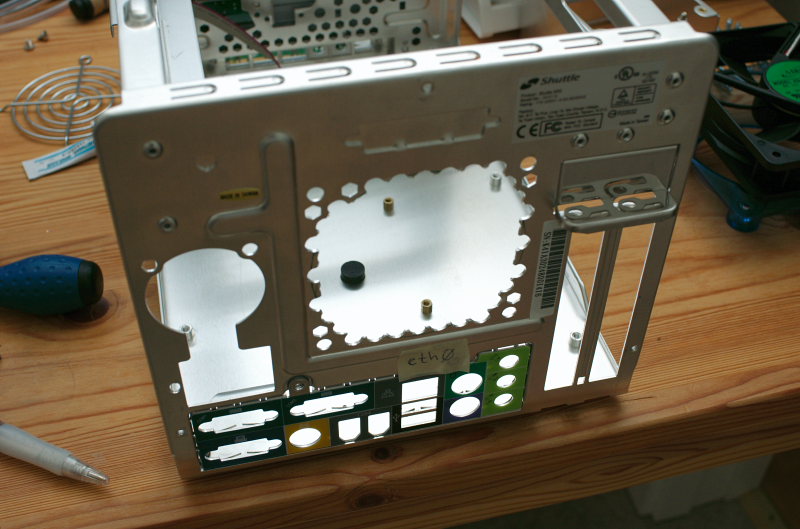
Remove excess metal for the main fan, this will improve the air flow.
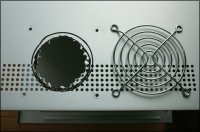
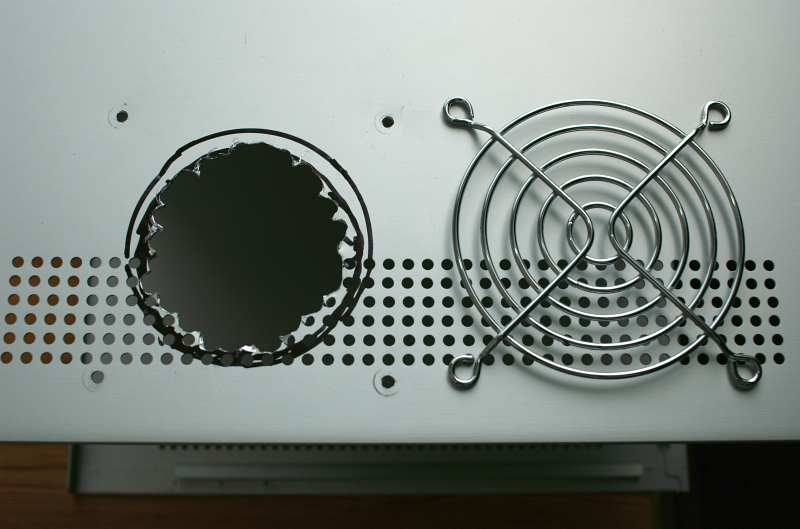
Make a hole in the chassis for an external 80mm fan to replace the graphics card fan. The fan grill comes from the original shuttle fan, we can reuse it here. Smooth the edges out with a curved file (not shown here).
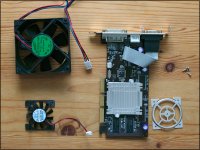
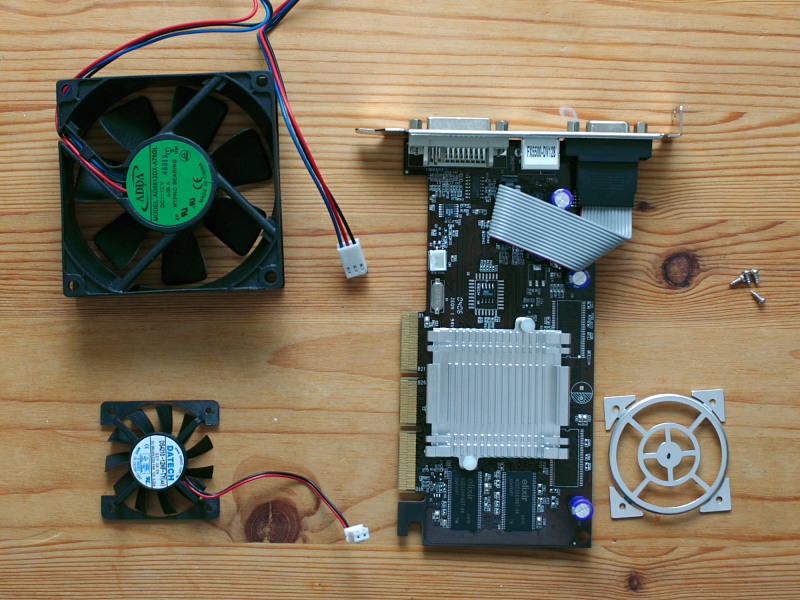
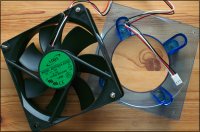
I bought a new FX5500 graphics card for this mod to finally go multi head. It has one DVI connector and one CRT connector for my old monitor. I will use the old monitor to watch movies as the LCD is not so good for that. Unfortunately it also comes with a small noisy fan which will be replaced by the bigger and less noisy 80mm fan shown on the picture.
The heat sink on the new graphics card is made for a fan, fortunately the heat sink from my old MX200 card fits just fine.

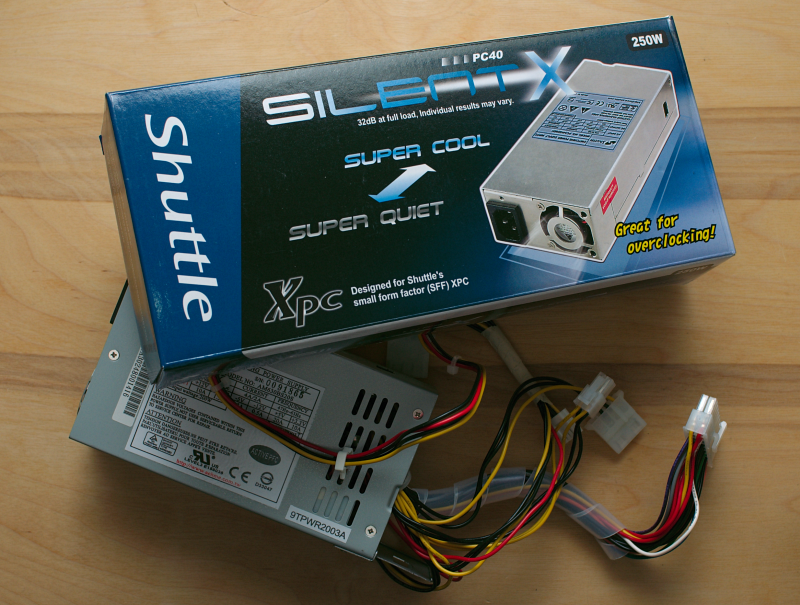
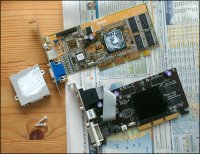
Since my shuttle PSU was very noisy (this may vary between systems) I bought a silent shuttle PSU. Instead of just having one small high speed fan it has two small low speed fans, one in each end of the PSU effectively forming a wind-tunnel.
The PSU on the picture is the old one, the new one is slightly longer.

This is how the assembled shuttle looks like. The main fan blows air into the box while the fan by the graphics card blows air out of the box.
The fan by the graphics card takes it's power from the graphics card. I cut the wire and reused the connector.
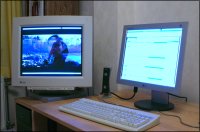
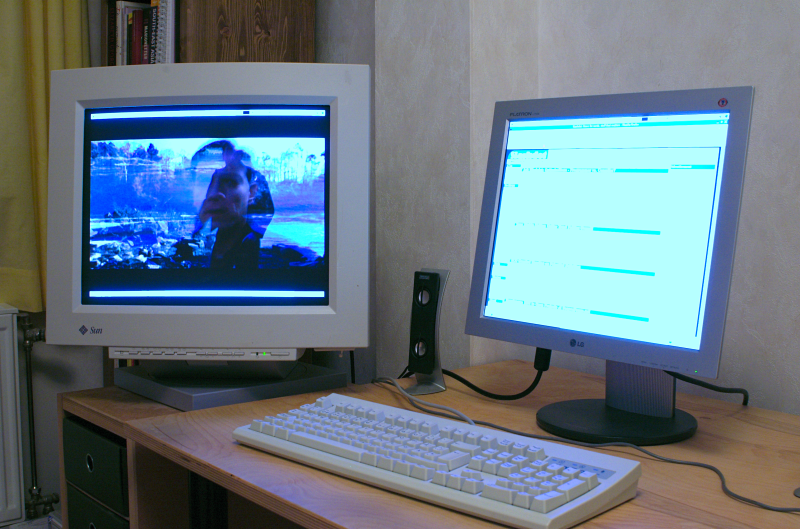
My new less noisy shuttle system.
Specs: AthlonXP 2000+, 1GB RAM, 160x2 GB Seagate barracuda IV disks (mostly mirrored), dual screen. Quite nice! I really recommend getting a LCD with DVI cable if you are stuck on a CRT (but not for image editing which the CRT is for).
Conclusions
The noise level is now about what one would expect from a PC. No high pitch sounds from tiny winy fans. It's absolutely not ultra silent. Most difference was made by the new PSU, so if your shuttle is really noisy and you can settle for a fan-less graphics card, maybe changing the PSU would be enough. The work put into this project was not more than about 8 hour anyway and the big fans definitely don't make more noise than the original ones so I'm quite happy.
The End