Correct Film Scanner Exposure II
I have a HP PhotoSmart S20 film scanner, the software for it sucks. This is my try at explaining how to get decent results from it with some post processing in the Gimp.
Previously I made an article suggesting that one should use the exposure sliders in the scanner software to adjust highlights and shadows. This works okay for the highlight but never for the shadows. The scanner software always produce weak shadows which results in pictures looking dull. The old article can be found here: HTML
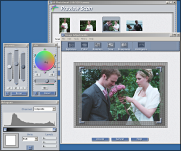
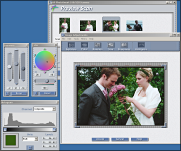
The first thing is to adjust the colour balance for the picture. The scanner will only suggest something which for many films is totally wrong. The picture at the left is Fuji NPS160 with the scanner software's default colour balance. As you can see the picture is way too blue. 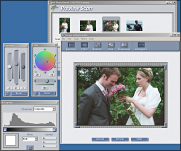
Here I have tried to adjust the colours as good as I can. You don't have to get it perfect here, the final adjustments can be made in Gimp later on. When you are satisfied with the colour balance take a note of it's setting as it can be used for pictures on the same film with similar lighting, overcast, sunny etc
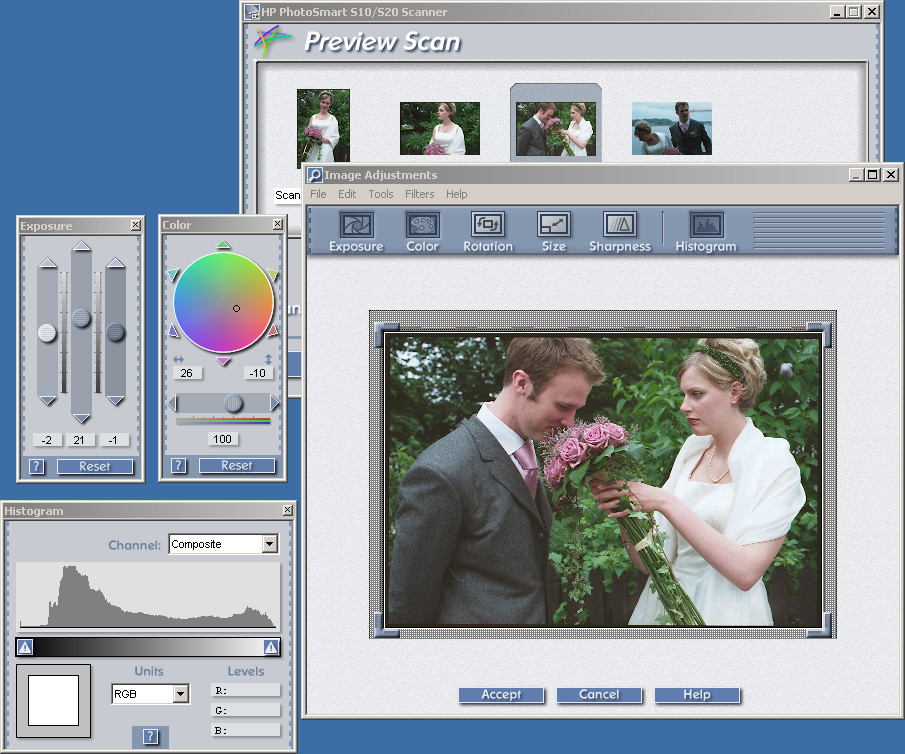
When finished with the colour balance, adjust the midtones exposure to your liking. Make sure that no hightlights that you wish to keep are cliped, you might need to touch the highlight exposure slider for this. In this particular example you can see that I under exposed the negative as the mid tone slider is at 21. The shadows will be dealt with in Gimp later on.
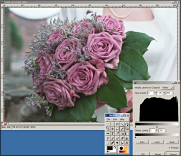
This is just an example to prove my point that the scanner software can't provide decent depth in the shadows. Here I have tried to use the shadow exposure slider to get darker shadows, see the histogram, but the result is catastrophic. But as I previously said, leave the shadows for now.
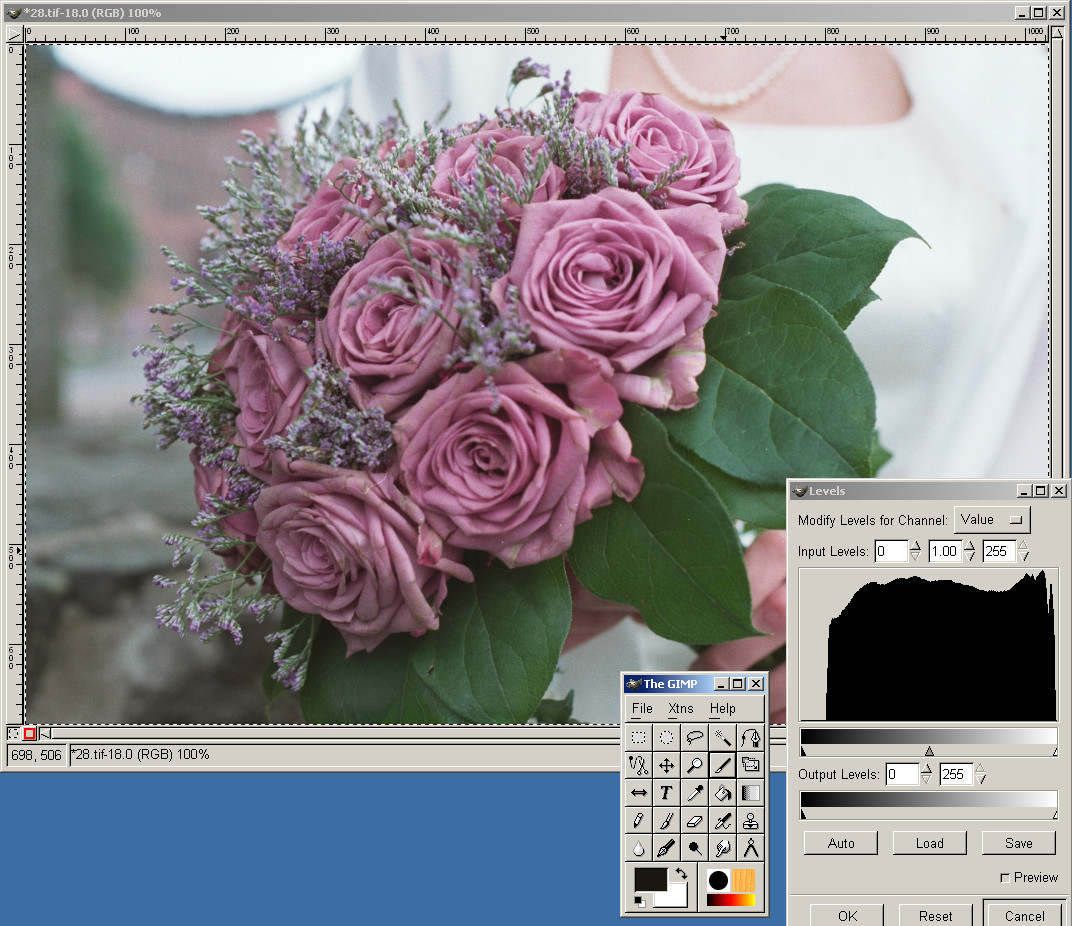
Here we have landed in Gimp with our colour corrected image but still with weak shadows. That is what we will correct now. Take note of the histogram, a very useful tool to see the distribution of pixel values in an image. We want the blackest black to be 0, not 30 something (in a 0 to 255 range).
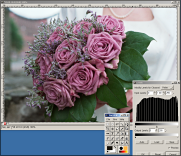
Move the slider in the level tool so that the blackest pixels in the image gets a value of 0. Kind of like normalising the image on only one end of the scale. The result will likely be too murky and not very pleasing. This will be corrected next.
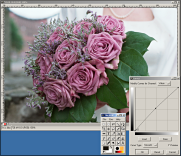
Using the curve tool, bring up the mid tone pixel values some. Experiment some to get the best result, the point is that now you've got dark shadows, i.e. the picture is not dull and it looks alright.
The End